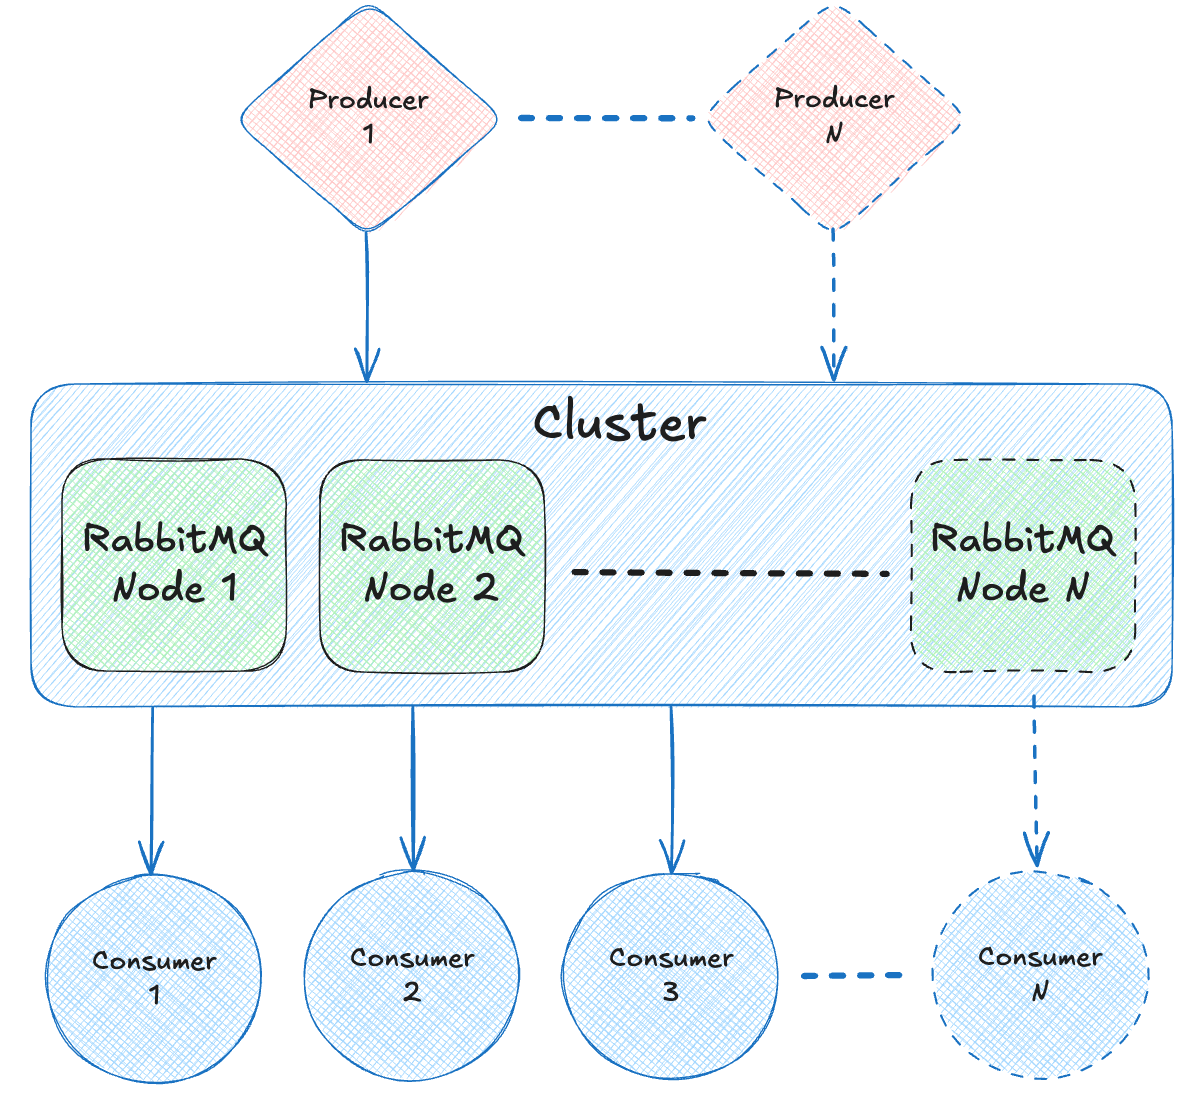
RabbitMQ. Clustering.

Сlustering is quite a widely concept in terms of server and software architectures. As for RabbitMQ it is simply a grouping more than an one RabbitMQ nodes. A node is the basic "message broker" service (process running on a server) which provides core RabbitMQ features. That's all that we need to know for a general view.

Why we need clustering? So, a cluster of nodes gives you more flexibility (than a single node), about how you design and provide your overall RabbitMQ services. It can help improve availability, data safety of queue contents and sustain more concurrent client connections.
All data/state required for the operation of a RabbitMQ broker is replicated across all nodes. An exception to this are message queues, which by default reside on one node, though they are visible and reachable from all nodes. All nodes in a RabbitMQ cluster are equal peers: there are no special nodes in RabbitMQ core.
Setting Up RabbitMQ Cluster
We will not consider using Docker or others containerization things to launch and maintenance RabbitMQ servers. I find them very convenient but a software engineer need to understand things more subtly before just run a command that does all work for him.
For install and build RabbitMQ Cluster we need:
- Two or more machines (physical or virtual).
- Network connectivity between these machines.
I have two VPS servers running Astra Linux OS(1.7 x86-64). First of all, I need to install RabbitMQ on both servers.
Step #1 - Install RabbitMQ on all servers
apt-get update && apt-get install rabbitmq-server
By this command will be installed Erlang packages, rabbitmq-server and its dependencies. Also will be created a new system user rabbitmq and systemd service rabbitmq-server.service.
root@mas:~# systemctl status rabbitmq-server.service
● rabbitmq-server.service - RabbitMQ Messaging Server
   Loaded: loaded (/lib/systemd/system/rabbitmq-server.service; enabled; vendor preset: enabled)
   Active: active (running) since Tue 2025-04-01 17:57:42; 0h 1min ago
 Main PID: 421248 (beam.smp)
   Status: "Initialized"
    Tasks: 163 (limit: 4915)
   Memory: 75.1M
      CPU: 4min 3.656s
   CGroup: /system.slice/rabbitmq-server.service
           ├─421244 /bin/sh /usr/sbin/rabbitmq-server
           ├─421248 /usr/lib/erlang/erts-10.6.4/bin/beam.smp -W w -A 128 -MBas ageffcbf -MHas ageffcbf -MBlmbcs 512 -MHlmbcs 512 -
           ├─421592 erl_child_setup 65536
           ├─421631 inet_gethost 4
           └─421632 inet_gethost 4
Step #2 - Enable RabbitMQ management plugin
The RabbitMQ management plugin provides an HTTP-based API for management and monitoring of RabbitMQ nodes and clusters. So, let's go ahead -
rabbitmq-plugins enable rabbitmq_managementWe will consider the benefits of this some later.
Step #3 - Configure Hostnames
Each node in the cluster should have a unique hostname. For this we need update /etc/hosts so that each server can resolve the hostnames of all other servers. Next change need to do on each server -
# Example /etc/hosts entries
# 192.168.1.101 - IP address of 1st server
# 192.168.1.102 - IP of 2nd server

192.168.1.101 rabbitmq-node1
192.168.1.102 rabbitmq-node2
Then, we need to restart RabbitMQ server on each node.
systemctl restart rabbitmq-server.serviceStep #4 - Forming the Cluster
Stop RabbitMQ on nodes that will join the cluster (except the first node):
rabbitmqctl stopJoin each node to the cluster. On each node (except the first one), run:
rabbitmqctl stop_app
rabbitmqctl reset
rabbitmqctl join_cluster rabbit@rabbitmq-node1
rabbitmqctl start_app
Verify the cluster status:
rabbitmqctl cluster_statusStep #5 - Configure High Availability
To ensure high availability, you can set up queue mirroring across nodes. Next command sets a policy named ha-all that mirrors all queues across all nodes.
rabbitmqctl set_policy ha-all "^" '{"ha-mode":"all"}'


